בדיקה...
סטודיו תמר
ממתנות אישיות ועד מיתוג עסקי יוקרתי. שילוב של טכנולוגיה, אמנות ואיכות ללא פשרות.
לצפייה בקטלוג המלא לחצו והחזיקו כדי לראות את הסרטון
דפוס וצילום
דפוס רחב וקנבסים
פוסטרים ולוחות קשיחיםצילום מסמכים
צילום וסריקת מסמכיםהדפסת תמונות
הדפסה על נייר פוטופיתוח תמונות
פיתוח איכותי ומהיראמנות וחריטה
הדפסה על טקסטיל
חולצות, סינרים ותיקיםאמנות
יצירות ויודאיקה מקוריתהדפסה על בלוק עץ
מתנה קלאסית ואישיתחריטה על עץ
חריטת לייזר מדויקתמתנות ואירועים
מחלקת דפוס רחב
איכות פוטו מדהימה לתמונות פנים ועסקים-
קאפות ולוחות קשיחים למשרדים, תערוכות וחיפוי קירות
-
פוסטרים ענקיים הדפסה על נייר פוטו איכותי וחד
-
מדבקות וניל בחיתוך צורני לכל מטרה, לוגו, או קישוט
שעות פעילות החנות
- ימים א'-ה': 09:30 - 15:15
- ימי ו' ושבת: סגור
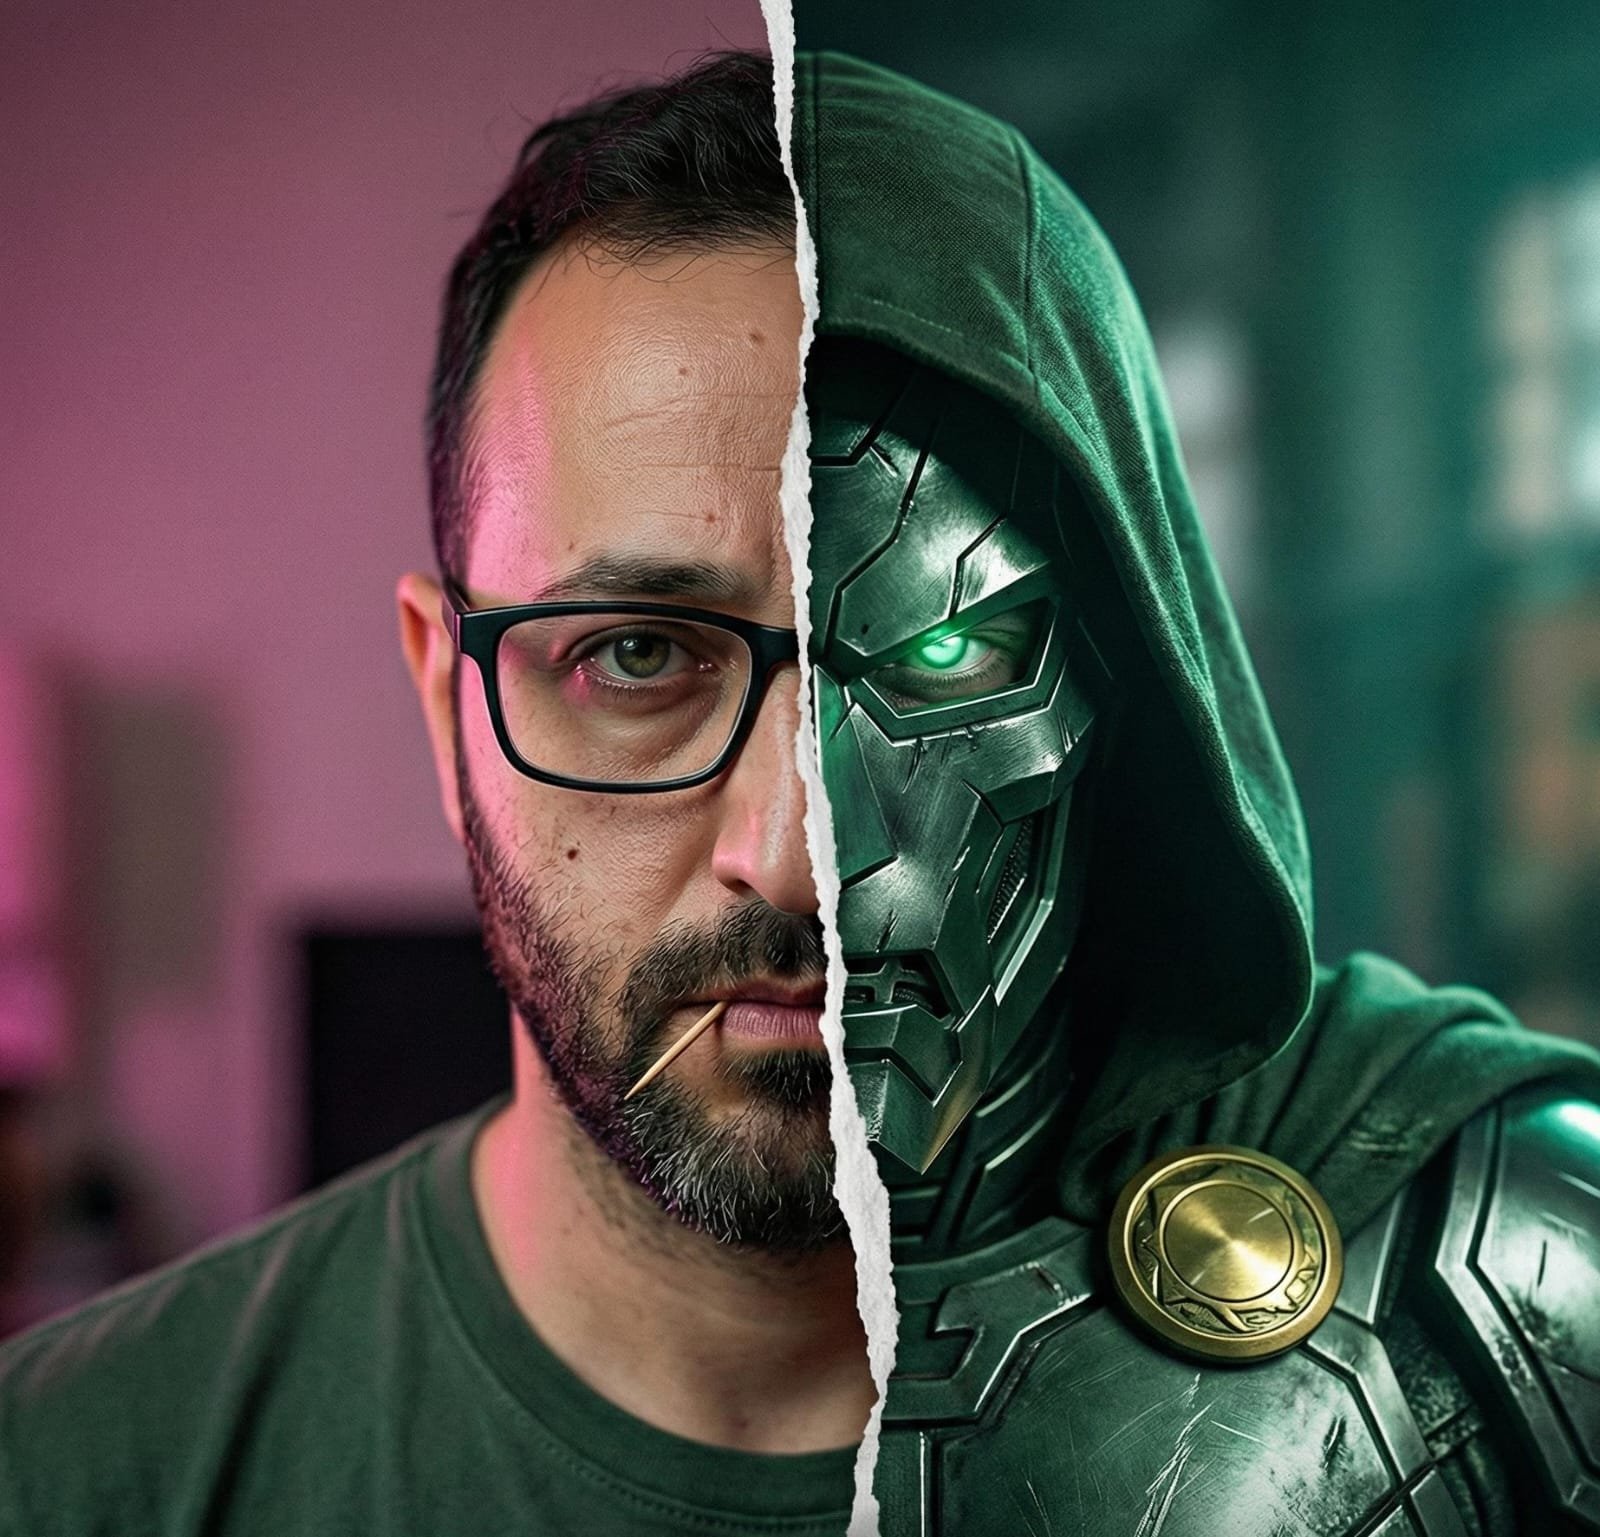
עולם שלם של אפשרויות AI
אנחנו הופכים אתכם לגיבורי על!
בסטודיו תמר אנחנו לוקחים את התמונות שלכם למקום אחר לגמרי.
רוצים להפוך את הילד לספיידרמן? להוסיף סבא שנפטר לתמונה משפחתית? או סתם להחיות תמונה ישנה בצבע?
השירות שלנו הוא אישי, אנושי ומקצועי.